Kasm Workspaces: Spinning up containers on the Raspberry Pi
Installation and initial configuration steps

Currently working as a Senior Consultant at Netcompany spending my full-time job solving the SharePoint riddles. In the free time I'm expanding my understanding of cybersecurity through hacking activities. Git fanboy.
Raspberry Pi Kasm Guide was inspired by NetworkChuck, go watch this and his other videos, he's living inspiration ☕
Prerequisites
I am running the following setup, but feel free to test on other configurations.
I'm getting a small commision for the purchases made from the links below
- Raspberry Pi 4B 8GB RAM
- SD Card (at least 64GB)
- Raspberry Pi 4 Power Supply
- Argon NEO Raspberry Pi 4 Case
- Ethernet cable (for the initial configuration or Internet over LAN)
Prepare Ubuntu Server SD Card
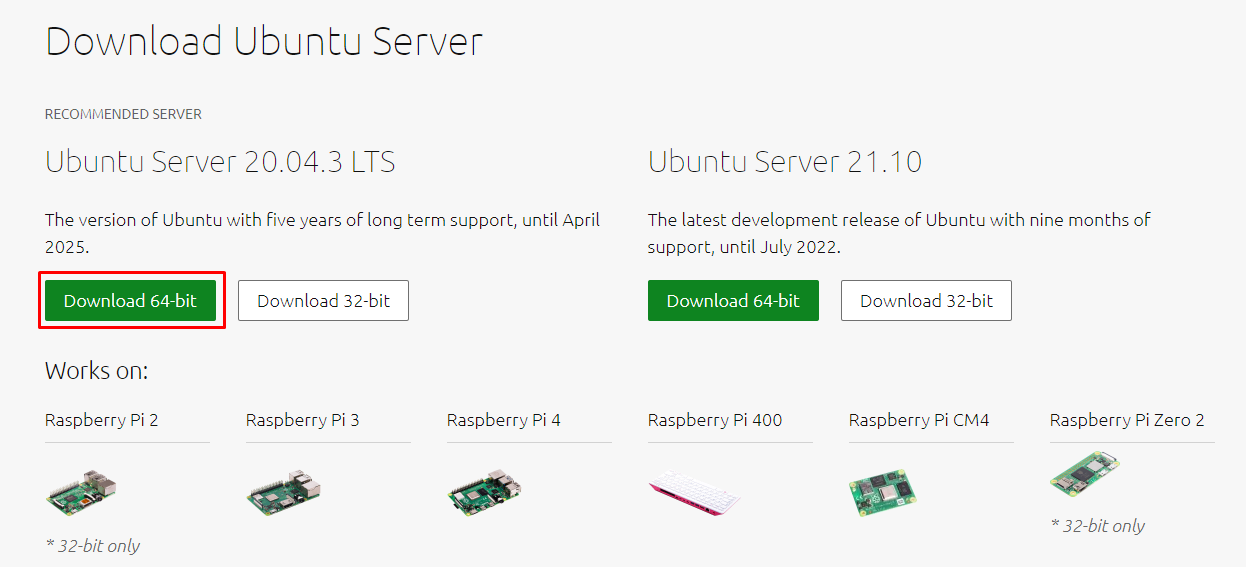
- Download Ubuntu Server 20.04 LTS for Raspberry Pi 4 from the official download page.
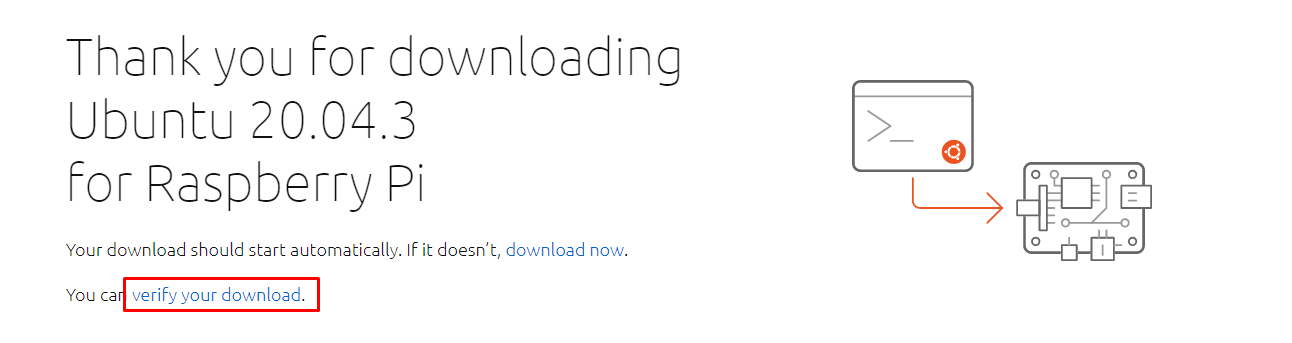
Verify hash (should match)
On Windows you can get SHA256 sum from PowerShell
# PowerShell
Get-FileHash -Algorithm SHA256 .\ubuntu-20.04.3-preinstalled-server-arm64+raspi.img.xz
Run Raspberry Pi Imager or Etcher.IO to write Ubuntu to the SD Card.
Unfortunately this distro doesn't work with Advanced features of Raspberry Pi Imager (Ctrl+Shift+X). Raspberry just won't boot if any of advanced options is used.
- When the process ends, insert a SD Card, connect power and wait a bit for the device to boot. Then SSH into the Ubuntu and start post-install steps.
Optional post-install steps
The following steps are optional, but highly recommended from a hardening perspective.
Additonally I have my own shell profile that I can download from the GitHub whenever I know I will be using Linux instance for a longer while.
$ wget https://github.com/KamilPacanek/configs/raw/master/kali-rearm/.shell_aliases -O ~/.bash_aliases
$ source ~/.bash_aliases
- Login via SSH (default credentials
ubuntu:ubuntu) and change password to more secure one - we will be using it later forsudocommands. - As we didn't have possibility to change username or hostname during the system installation, we have option to do it now. Change hostname (
/etc/hostsand/etc/hostname, then reboot). - Now perform following steps from Hardening section: Add new suduer account, Enable SSH login, Disable root & password login, Remove default user.
- Add the following aliases to your
.bash_aliases. These are easier to call than remembering the paths.alias kasm-start="sudo /opt/kasm/bin/start" alias kasm-stop="sudo /opt/kasm/bin/stop"
Mandatory post-install steps
- Relogin on new user using SSH and update packages and distribution (see the
apt-updaterfrom my.shell_aliases) - As you probably will be exposing Kasm to the Internet, it's best to have the important patches applied both manually and automatically. For the second part, I recently started using the
unattended-upgradespackage. - Ensure swap partition is available. Run
$ cat /proc/swapsto see if any swap is already created. In my case, it isn't, so I'm running this command to create and mount 4GB of swap.
Kasm recommend 1GB per concurrent session and I don't plan to run more than two images simultaneously. I have plenty space on my SD Card, so 2GB buffor sounds reasonable with my 8GB RAM on Raspberry.# don't bother tinkering with 'bs' and 'count' arguments; # did a test with 1M/4096 and 512K/8192 and both completed at same time $ sudo dd if=/dev/zero bs=1M count=4096 of=/mnt/4GiB.swap $ sudo chmod 600 /mnt/4GiB.swap $ sudo mkswap /mnt/4GiB.swap $ sudo swapon /mnt/4GiB.swap # make swap available on boot $ echo '/mnt/4GiB.swap swap swap defaults 0 0' | sudo tee -a /etc/fstab
Install Kasm Workspaces
- Download Kasm Workspaces from the official download page.
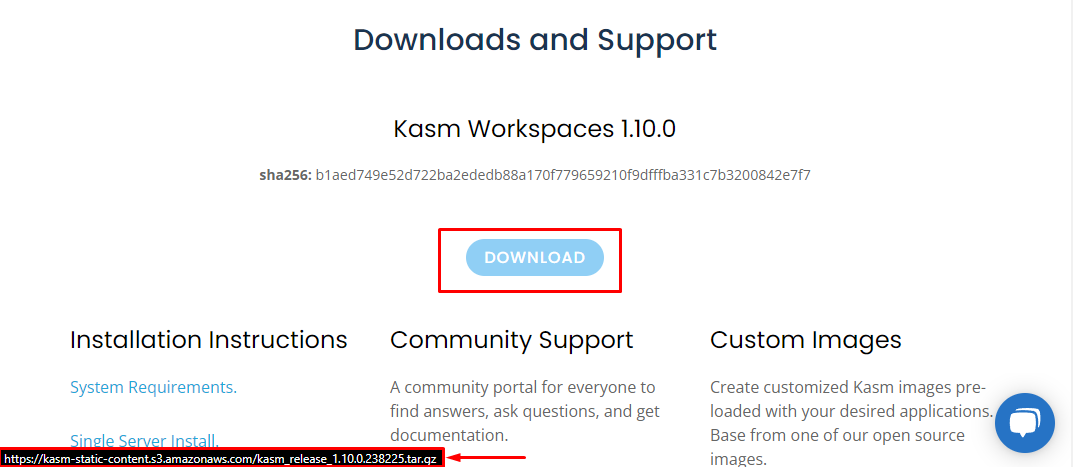
$ cd /tmp $ wget https://kasm-static-content.s3.amazonaws.com/kasm_release_1.10.0.238225.tar.gz # hash shoud match the one visible on download page $ sha256sum kasm_release_*.tar.gz - Now is the time to decide on which port you would like the Kasm Web UI to work on. This can be changed later, but it is easier now. Default is 443.
$ tar -xf kasm_release*.tar.gz # sudo bash kasm_release/install.sh -L 8443 / change default port $ sudo bash kasm_release/install.shinstall.sh.Irrelevant for us here, but worth noting: if you are running Kasm from VM connected via NAT with port forwarding - ports on host and client should match. Otherwise, you would get an error when connecting to the Kasm images - internal connection will try to reach out to Kasm port. You can either catch that connection in the Dev Tools and manually add forwarded port or setup port on Kasm.
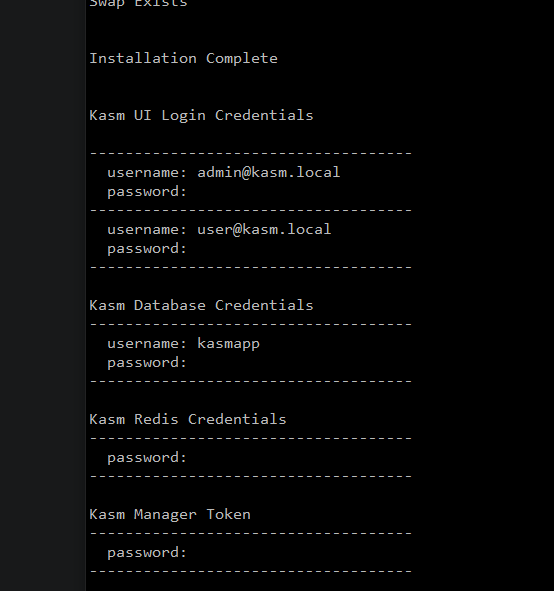
- Copy the displayed credentials and save them for future use.
Fix Kasm Web UI SSL error
This topic is an unexpected addition to this guide. When you first enter the https://{RASPBERRY_IP}/ in the browser, you'll see the ERR_CERT_AUTHORITY_INVALID error.
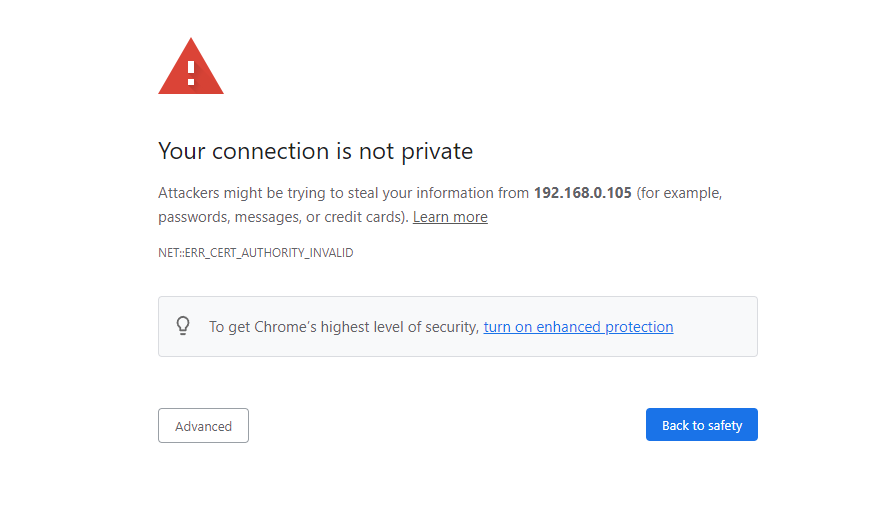
And that's completely accurate behaviour because during the installation, Kasm is generating self-signed certificate for the hostname address.

In the next guide I will show how to deal with it in more elegant manner, but for now let's continue.
What I'm proposing as a temporary solution is to install the existing Kasm certificate in the Trusted Root Authorities and add hosts entry, so the Kasm address domain matches the certificate domain.
SSH into Kasm server (Raspberry Pi). Copy Kasm certificates and change their owner to current user.
$ mkdir ~/kasm_certs
$ cd ~/kasm_certs
# we have to sudo copy them because of their 600 permissions
$ sudo cp /opt/kasm/current/certs/* .
# now change owner of the copied files
$ sudo chown {LOGIN} *
Secure copy the certificates to the local system (executed on the system that is going to use the Kasm; endpoint)
$ scp -r -i {PEM_KEY_PATH} {USER}@{RASPBERRY_IP}:/home/{USER}/kasm_certs .
Double-click the
kasm_nginx.crtand add it to the Root Trusted Certificates of the Local Machine.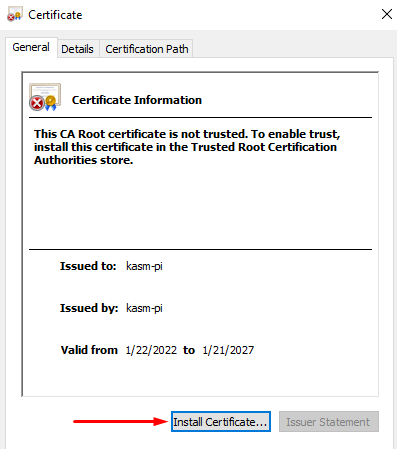
Open Notepad as an administrator. Open
C:\Windows\System32\drivers\etc\hosts. Add following line{RASPBERRY_IP} kasm-piNow clear browser cache and navigate to the
https://kasm-pi/. Now you can still get the error because Common Name for the self-signed certificate is empty, but you can use the Kasm.
Kasm overview
Navigate to the Kasm Web UI.
Kasm can be stopped and started from the server with the following commands
sudo /opt/kasm/bin/stop
sudo /opt/kasm/bin/start
Change default passwords
Navigate to the Kasm Web UI.
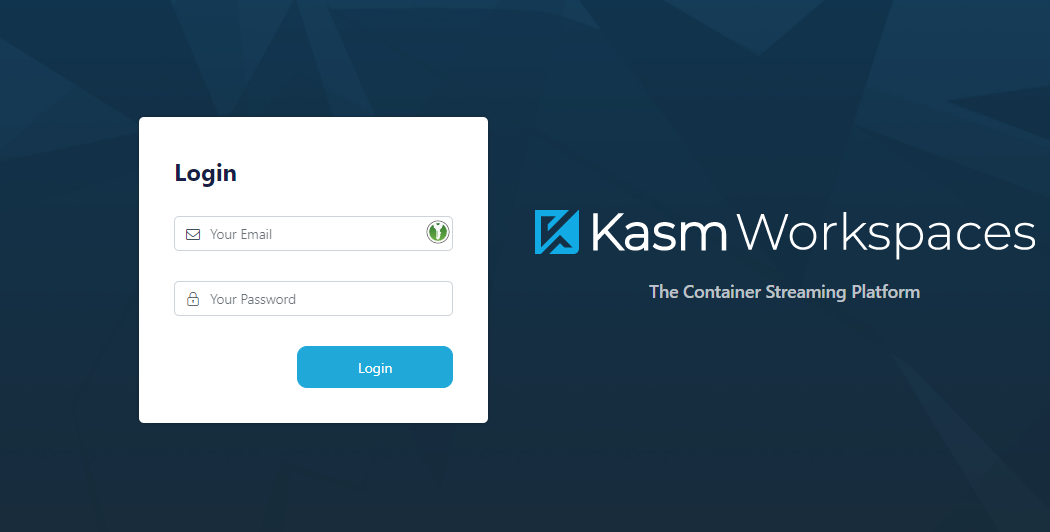
Don't mind the round key icon on the input field, that's the KeePassXC Chrome extension
Now login with the admin@kasm.localFor the security reasons you should use Kasm as a normal user, not admin - but this time we are logging in to change the default passwords. Go to Users on the Admin panel.
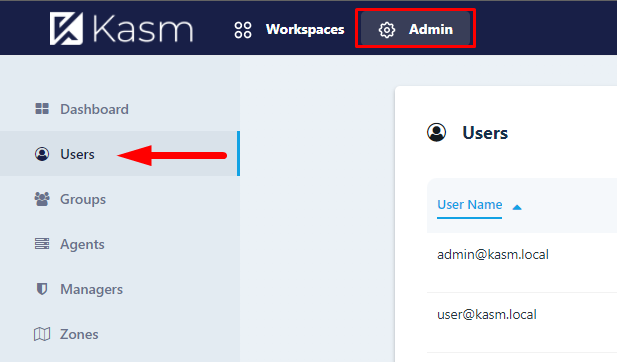
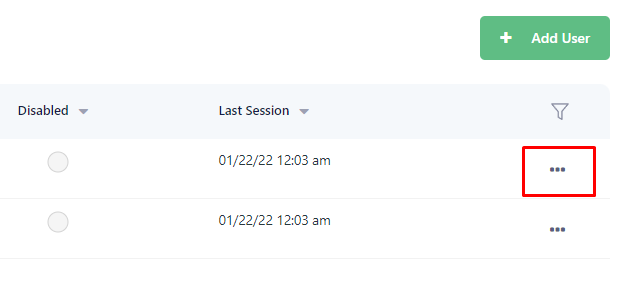
Click on the ellipsis next to each user and assign a new password using "Reset password" option.
Relogin as an admin.
Images
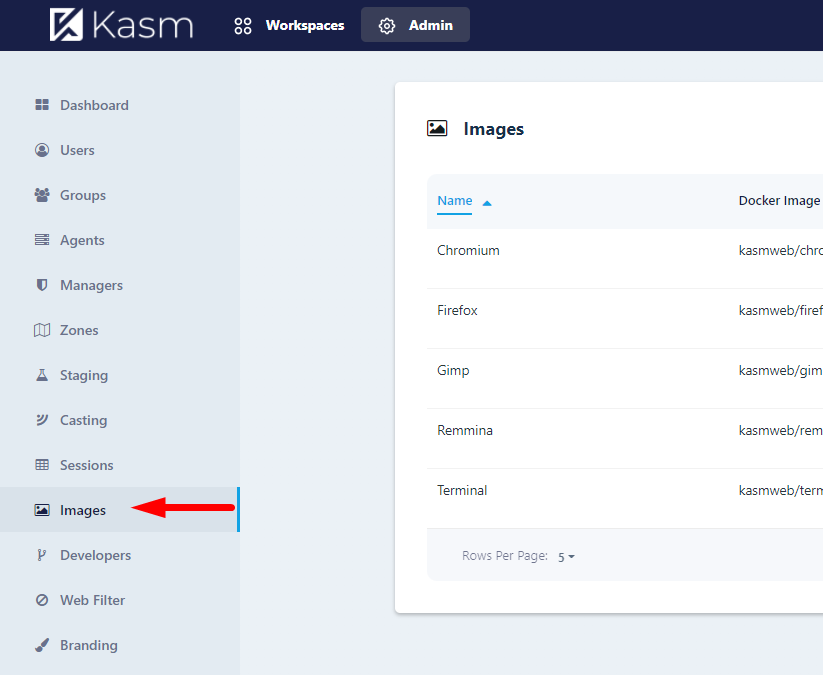
Here you can see all the images that can be spun on the Kasm. You can add more from the Kasm's Docker Hub. This possibility will be researched in the future guides.
Dashboard
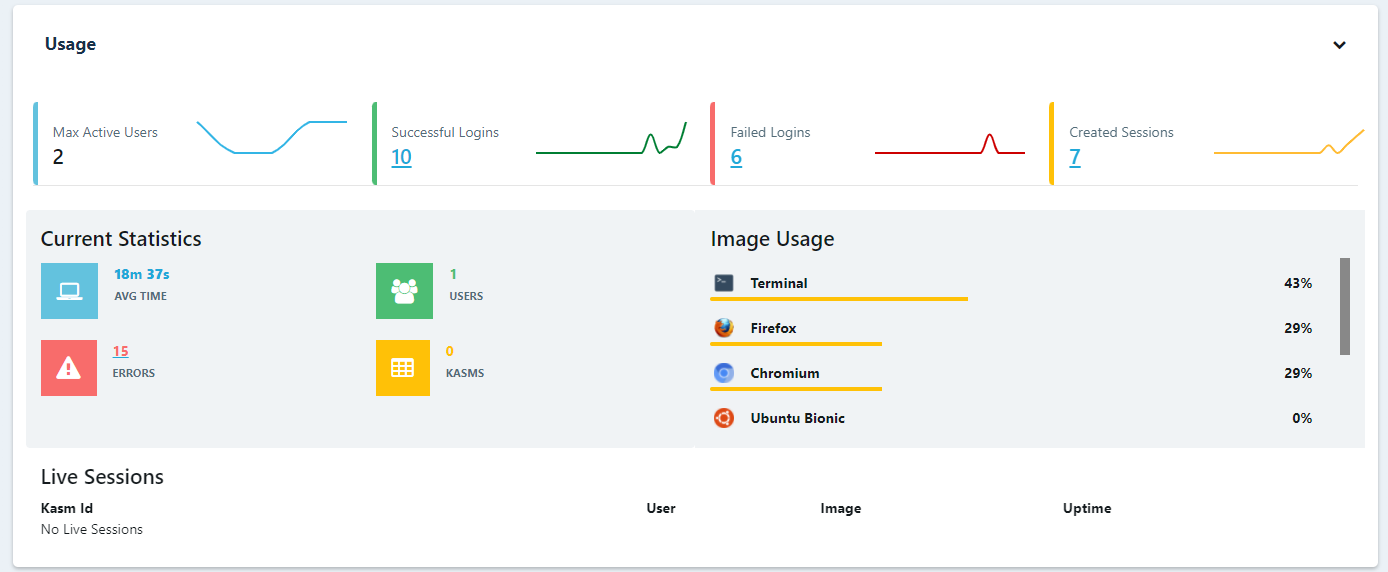
Here you can get some statistics of errors and resources available on the server. I encourage running htop on the server to see how lunching new Kasm images affect CPU and memory usage.
You will also see here the current sessions - useful place to terminate them.
Workspaces
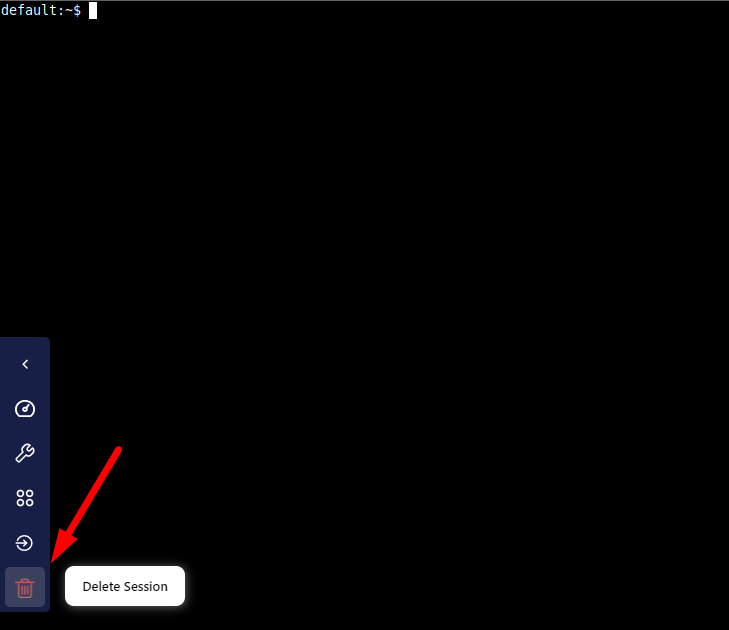
Finally, workspaces. Login as user and click on some tile to launch the new session. This will spun up the new docker instance on the server and will stream that to the browser tab.
This is an isolated instance of that application, that can (and should be) terminated afterwards.
Conclusion
You have now a working Kasm instance, ready to launch an isolated application, streamed to your browser. In the next articles we will address the certificate issue, add new images to the Kasm, manage persistence between sessions and more!