


Article contains promotional codes for domain activation and renewal together with SeoHost.pl referral link
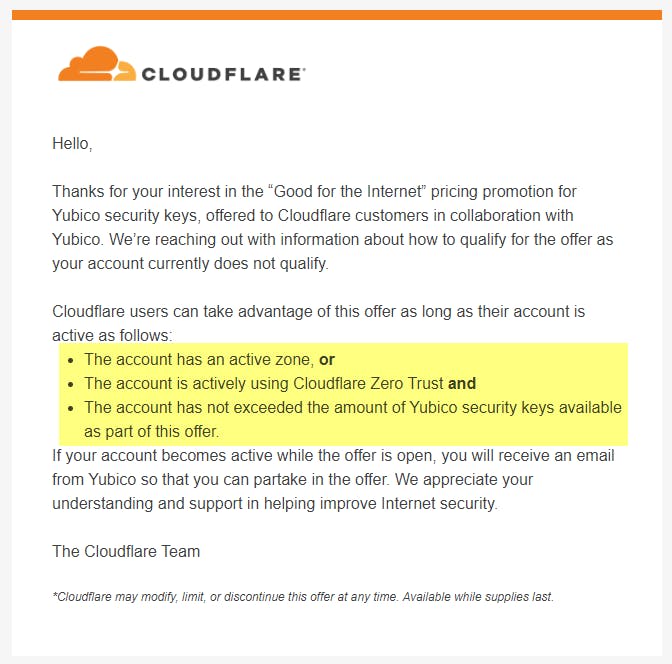
On 29th of September 2022, Cloudflare announced a partnership with Yubico offering a great deal for purchasing YubiKeys. It seems like the response of the community was underestimated because they quickly changed the offer, including some requirements before claiming the promotion.
One of the easiest and possible most impactful for your operations is establishing a Cloudflare Active Zone.
What is an Active Zone
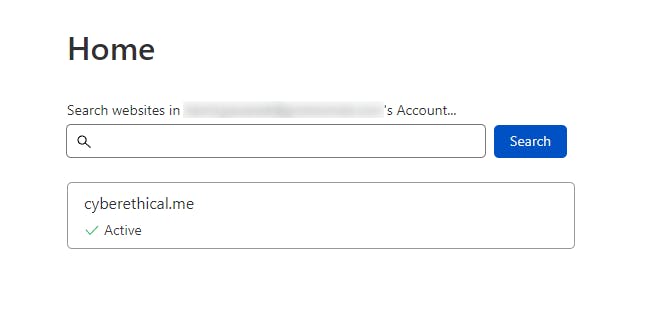
Active Zone is an active domain that was added to your Cloudflare account.
How to add a new Zone
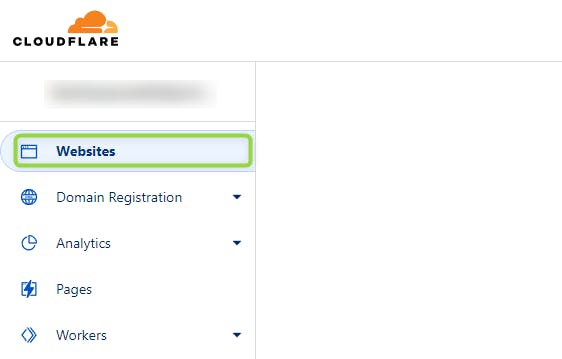
- Navigate to the main dashboard under Websites.
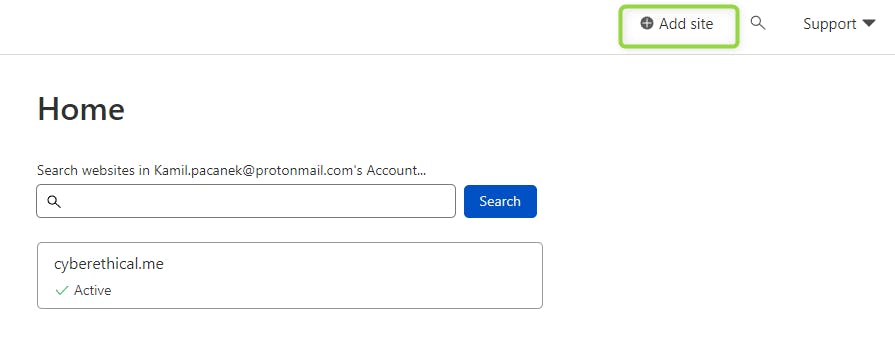
- Click Add site.
- Enter your site root domain.

- Choose "Free" option on the bottom of the page.

- Now Cloudflare will scan your existing DNS records, so when you switch your nameservers, previous setting are still in effect.
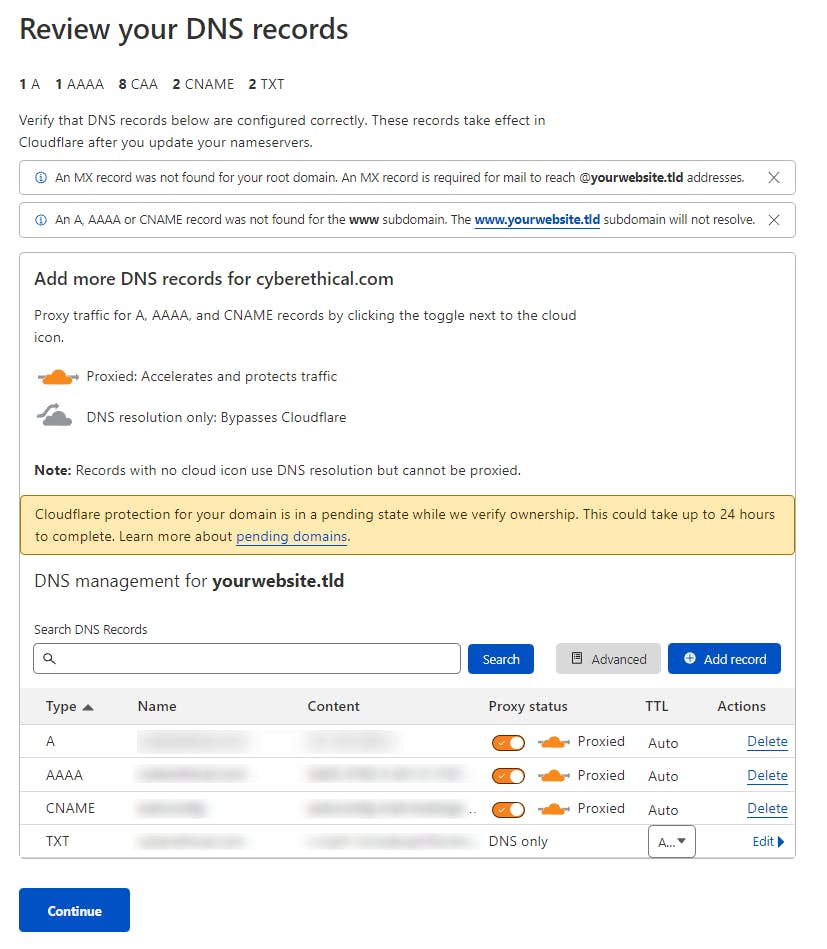
At this step almost always you want to proxy all reqests through Cloudflare - because that's the whole idea. But if for some reason you want your subdomain resolution to hit directly to the service server, bypassing Cloudflare proxy - this is the place to specify that.
- Click Continue.
- You will be welcomed by the overview page where are your Cloudflare nameservers.
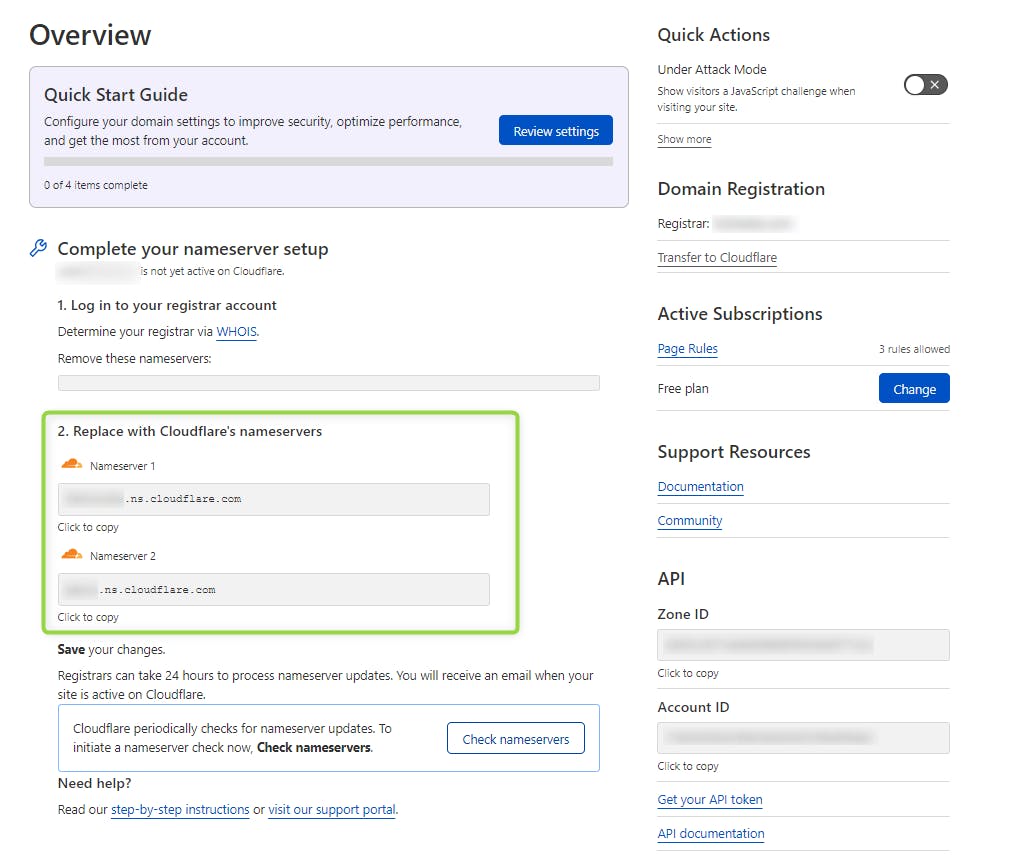
Update nameservers
Now, to make your zone active, you have to replace your existing nameservers with those provided by the Cloudflare.
It is important that you remove old ones and leave only Cloudflare's ones, despite the fact it doesn't say so on the overview page (empty Remove these nameservers)
The process varies depending on your registrar/domain provider. Detailed process for most popular registrars is available on Cloudflare Docs. I will show it on example of SeoHost.pl - which services I am using for last couple of years.
Use following codes on checkout:
💸 CYBETHME - pay 25% less on domain activation
💸 CYBETHMEAGAIN - pay 15% less on domain renewal
- Navigate to Domain view.
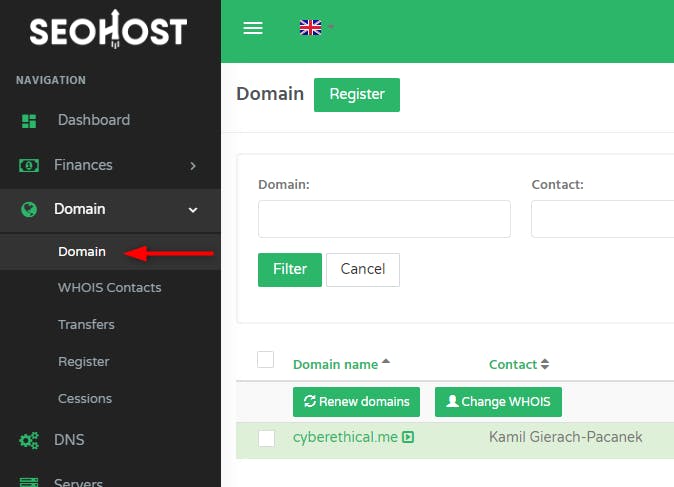
- Select the domain you have added to Cloudflare.
- Now in the DNS Setting section, navigate to DNS domain delegations.
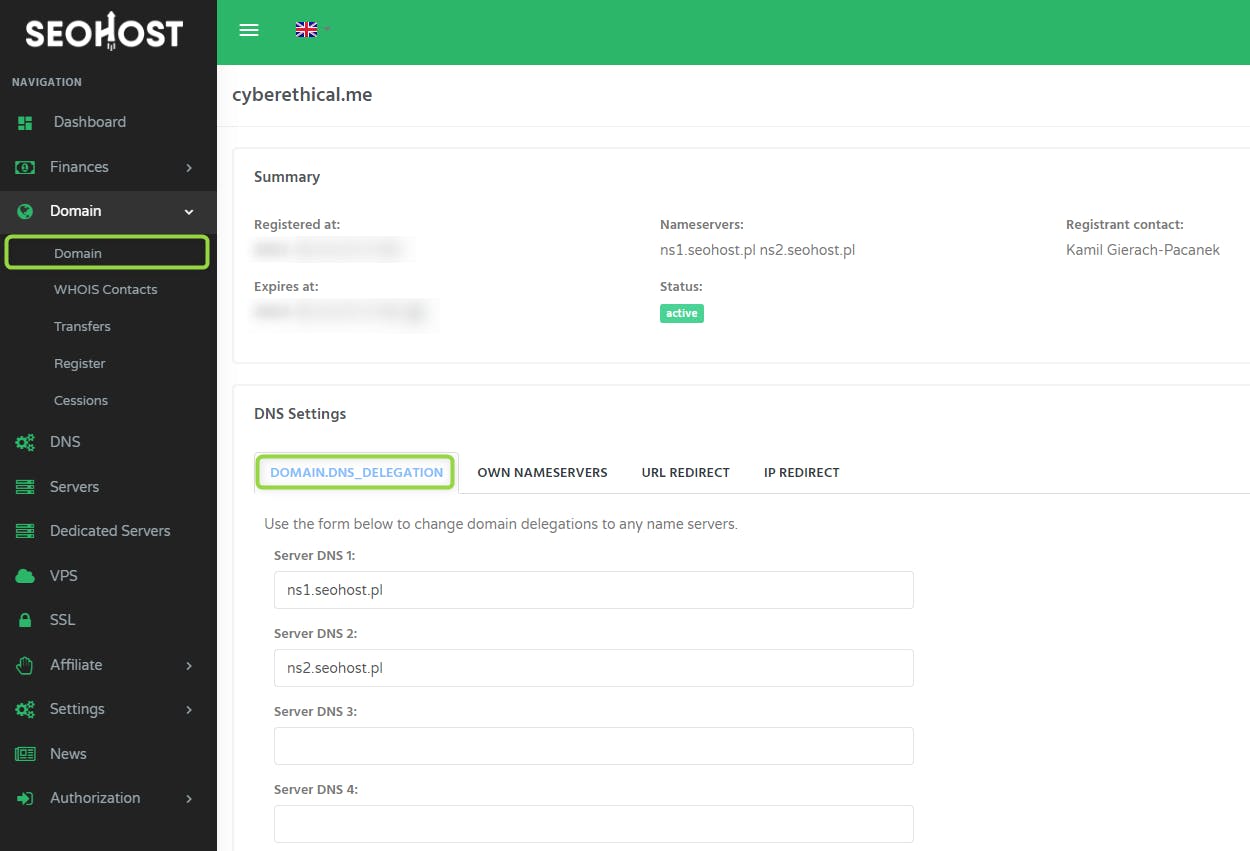
- Remove all (default) nameservers. Add Cloudflare nameservers.
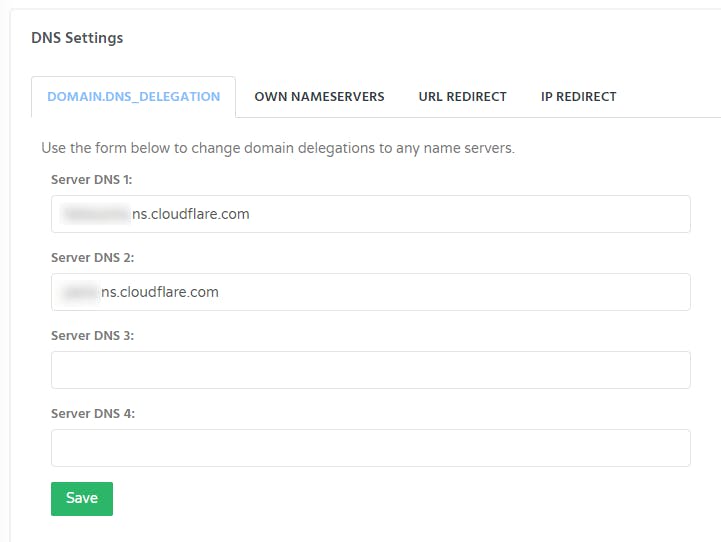
- Click Save.
That's it. After verification process ends on Cloudflare, your website (Zone) should change status from "Pending Nameserver Update" to "Active".
Bonus: Redirect root to subdomain
If you would like to have your root domain to redirect to the subdomain (as it is done with cyberethical.me) you have to take additional steps. It may depend on your original configuration, my registrar was doing that internally by custom rewrite rules.
- Navigate to your Zone/Website dashboard on Cloudflare.
- Ensure you have CNAME DNS entry for your subdomain.
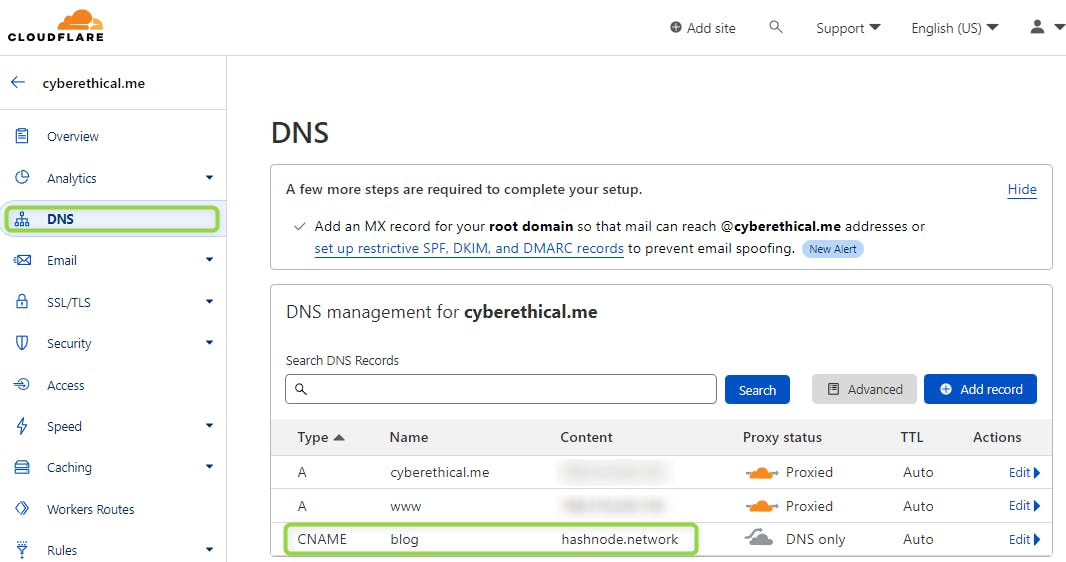
Entry may differ depending on your configuration. Attached image is the example of how subdomain blogs words on Hashnode
- Ensure you have proxied DNS A record for your root/naked domain. This can be achieved by entering either domain name or
@as a record name with arbitrary IP address and with Proxied status. or
or

Arbitrary IP, becasue in the next step we will be adding redirection to a subdomain, so traffic never reaches that IP .
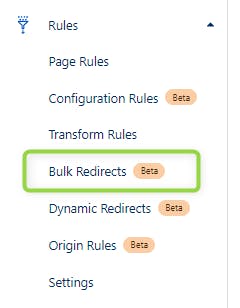
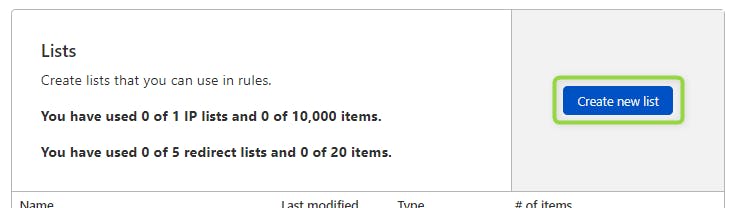
- Navigate to Bulk Redirects under Rules.
- Click Create a new Bulk Redirects list
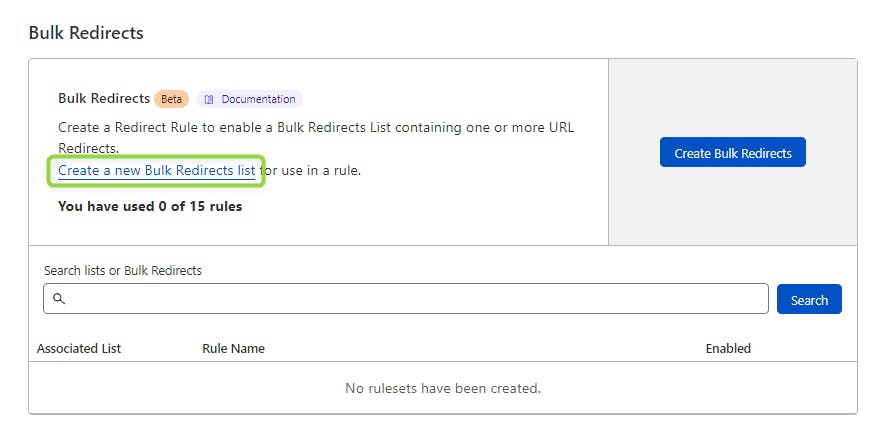
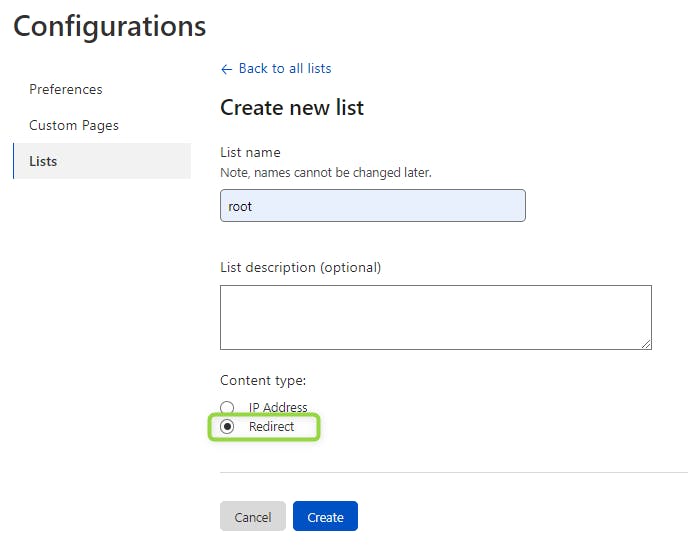
- Click Create new list
- Select Redirect content type, enter name (doesn't really matter).
- Click Add item.
- Fill entry as shown below. Click Save.
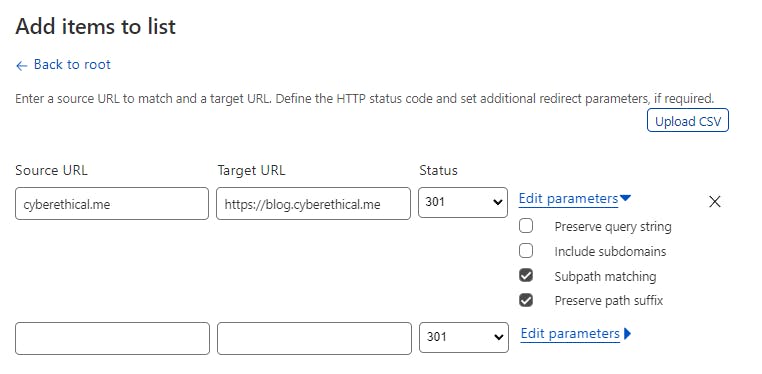
Now, when you enter the naked domain, you should be redirected to the subdomain (with HTTPS).